Integrating Firebase SDK for Google OAuth Third-Party Login
by Hsuan Huang
When logging into a website, you can often choose to use your Google, Facebook, or GitHub account instead of registering another username and password. It’s convenient, and that’s what we’re going to do today.
Third-party login is now quite common, mostly based on OAuth. It greatly increases new users’ willingness to sign up since there’s no tedious account and password registration process. It’s a win–win–win situation for users, platforms, and the third-party providers offering the login.
- Users get a simpler login flow and a better experience.
- Platforms can quickly increase their new user base.
- Third-party providers can expand their user base and increase reliance on their services.
That said, I think the latter part of the third point is a double-edged sword. From the perspective of customers and businesses, it can be very different — especially now as we move into the era of Web 3.0. But since that’s unrelated to this article, I won’t go into it here. If you’re interested, you can check the references below — I think they explain it very well.
Plain Talk on Web 3.0 — We Use the Web, But the Web Doesn’t Belong to Us (Part 1)
Recently, due to work requirements, I needed to integrate third-party login. For now, I’m only integrating Google OAuth, though I may add others in the future. Here, I’ll just use Google as the example.
This post is more on the beginner side and will be relatively short. The main purpose is to document the process of getting the integration working from scratch. Let’s get started!
Creating a New Project and Application in Firebase
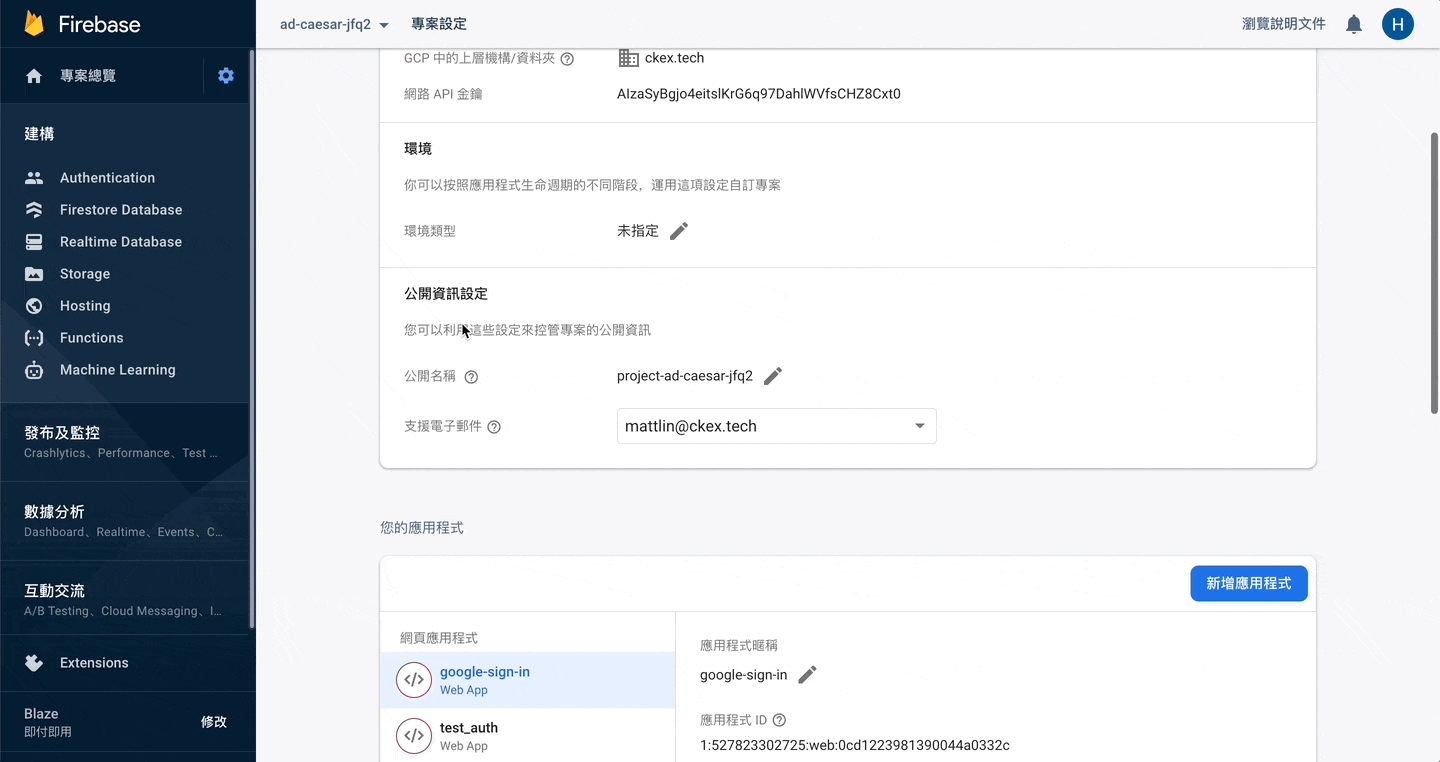
First, you need to create a new project in Firebase. In this case, a colleague has already created the project, so the next step is to add an application.
- In the top-right corner, you’ll see “Add App.”
- Click it, enter the application name, leave the checkbox unchecked, and just confirm all the way through. After that, return to this page.
Add Sign-in method
Here we’ll choose Google as the login method, which is quite simple.
- Go to Authentication → Sign-in method.
- Click Add in the top-right corner, then select Google, and confirm all the way through.
Scroll down and remember to add an authorized domain. For now, just add localhost:3000 for testing. You can add more domains later as needed.
Copy SDK
// Import the functions you need from the SDKs you need
import { initializeApp } from "firebase/app";
// TODO: Add SDKs for Firebase products that you want to use
// https://firebase.google.com/docs/web/setup#available-libraries
// Your web app's Firebase configuration
const firebaseConfig = {
  apiKey: "xxxxxxxxxxxxxxxxxxxxxxxxxxxxxx",
  authDomain: "xxxxxxxxxxxx.firebaseapp.com",
  projectId: "xxxxxxxxxxxx",
  storageBucket: "xxxxxxxxxxxx.com",
  messagingSenderId: "xxxxxxxxxxxx",
  appId: "xxxxxxxxxxxx"
};
// Initialize Firebase
const app = initializeApp(firebaseConfig);
Next, you can copy this snippet. For confidentiality, all real values are replaced with xxxxxxxxxxxxxx. You can find this snippet in Project Settings (the gear icon next to the project overview).
Add firebase-config to your project
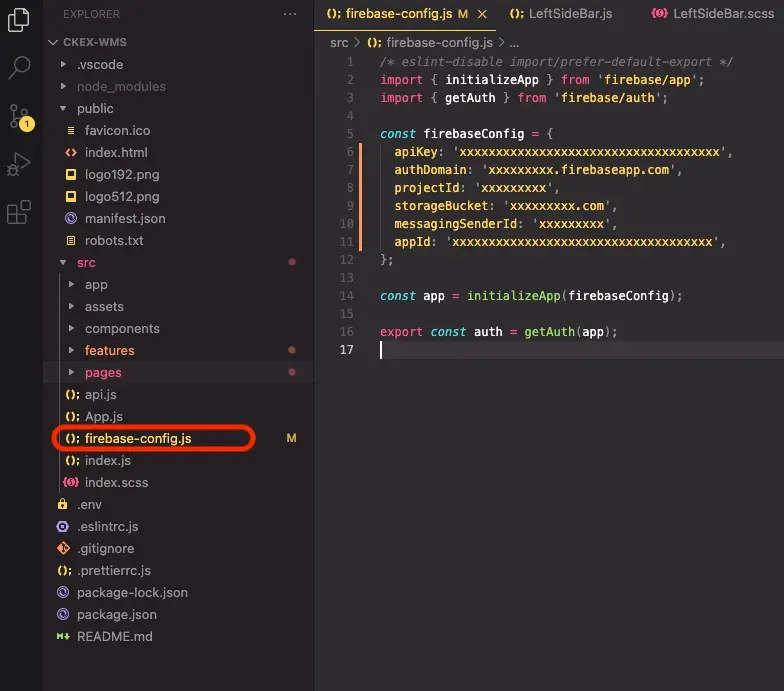
Next, create a file under src called firebase-config.js to store the SDK you just copied. Paste it directly. You’ll see it includes the config settings and the initialization of the App and auth.
Import Google auth in Login page
Next, import it into the login page. Here, I’m importing it in HomePage.js.
You’ll see I imported signInWithPopup, GoogleAuthProvider, and auth. signInWithPopup triggers the Google login popup, allowing the user to choose their account.
When calling signInWithPopup(auth, provider), two parameters are required. The first, auth, was exported from firebase-config.js. The second, provider, is created with new GoogleAuthProvider(), which is provided by Google.
Reference documents:
You can also set restrictions on the provider parameters, such as limiting which email domains can log in using hd (hosted domain). If you don’t have this requirement, you can ignore it. The next step is simply redirecting after a successful login.
import React, { useState } from 'react';
import { signInWithPopup, GoogleAuthProvider } from 'firebase/auth';
import { useNavigate } from 'react-router-dom';
import { auth } from '../../firebase-config';
function Homepage = () => {
    const navigate = useNavigate();
      // 目前使用 google 做第三方登入
      const signInWithGoogle = async () => {
        const provider = new GoogleAuthProvider();
        // 限制只有帶 ckex.tech 才會出現在選項
        provider.setCustomParameters({
          hd: 'ckex.tech',
        });
        try {
          const response = await signInWithPopup(auth, provider);
          const token = response.user.accessToken;
          localStorage.setItem('access_token', token);
          // 登入成功就轉址
          if (token)navigate('/orders-data');
        } catch (error) {
          console.log(error);
        }
      };
    return (
      <div>
          <button className="login-btn" onClick={signInWithGoogle}>Click me to login</button>
      </div>
    )
}
At this point, your website should be successfully integrated with Google login. Integrating other third-party logins in the future should follow a similar process.
This post also serves as a personal record for me, making it easier to refer back to in the future.